Enki G.S.B. Tutorial - Beach Street Life - Page 1
Beach Street Life
↩Beach Street Life
- Tutorial created by enki G.S.B. - Part 1
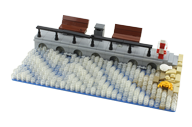
We build a small section of a beach promenade.
Exactly the section before the hustle and bustle really starts and the city begins. Behind the road which leads into the village, there is a small undeveloped plot of land which, apart from a few billboards, is left to itself and to nature. Much to everyone's delight.
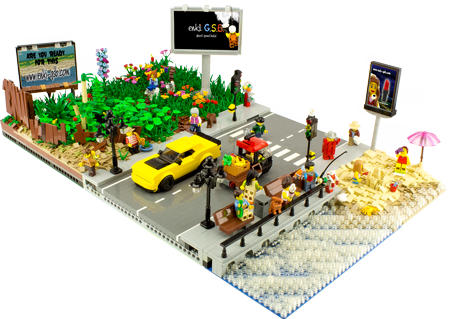
For an easier overview, we divide the Lego® MOC Street Life into 6 construction phases:
Construction Phase 1
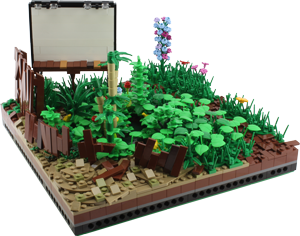
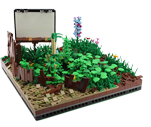
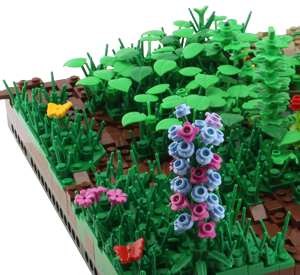
Behind the coast across the road is a small unused piece of land which nature has occupied and formed into a beautiful garden. Remnants of a wooden fence still surround part of the property, on which there is also a small mud pond or pond. On the other hand, a lush meadow with many colorful flowers is enjoying its existence (construction phase 2).
We start with a 32x32 baseplate which we increase by one row of stones. Support stones are attached inside. We border the frame with Technic-Bricks with Holes in order to later connect the individual construction sections with pins. The colors of all non-visible stones do not matter.
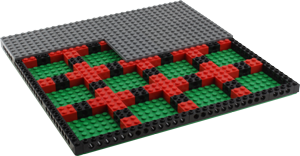
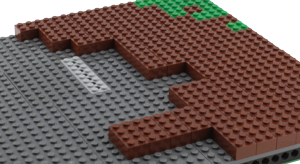
After we have created a stable underground, we fill the new surface aka earth with brown bricks. We leave a small area free, this will be the pool.
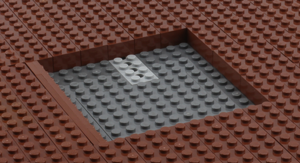
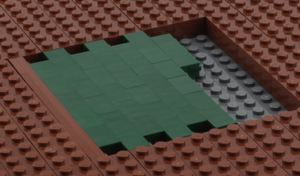
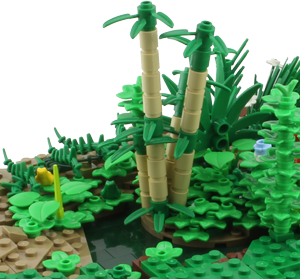
This pool is muddy and full of moss and algae. That's why we use Dark Green Bricks, which we place vertically in the previously made recess.
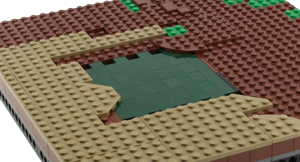
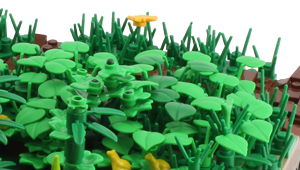
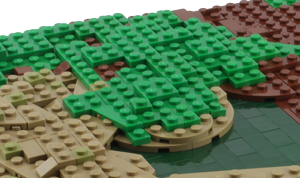
The dark earth gets lighter on the surface and mixes with the surrounding sand, which is also nice and wet from the pool. For this we use Dark Tan Plates & Wedge. But also many Green Plates & Wedge, since it is also very fertile around such a pond and plants of all kinds can spread unabashedly.
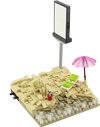
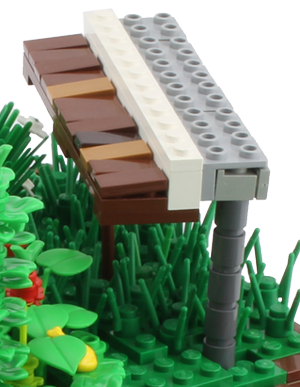
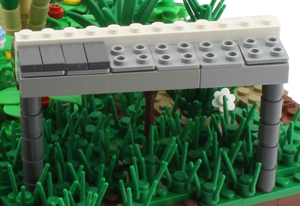
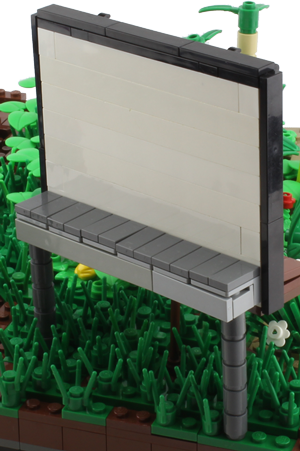
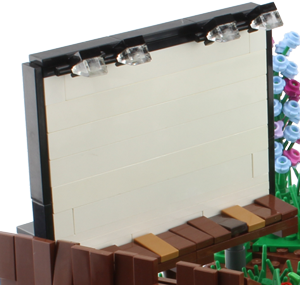
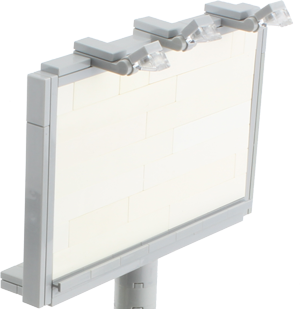
In the middle of the bushes we install another billboard. She gets an area to walk/stand or work at the front and at the back, with the front part being equipped with wooden planks. With the balustrade, the "workers" can also maintain this billboard and of course stick lots of colorful posters on it. White bricks form the background, which in turn are framed with tiles. At the very top there is a row with spotlights as lighting, after all advertising also or especially needs to be admired at night.
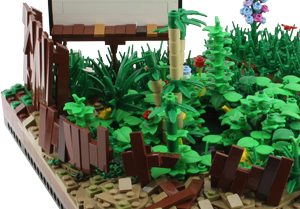
Last but not least, we surround a part, especially the pond, with a wooden fence. However, it has been there for a very long time and you can clearly see the years and weathering on it.
Construction Phase 2
The basis again consists of a baseplate filled and bordered with bricks. Not too dense to possibly save stones but enough to create a stable subsoil. A layer of Plates is placed on top of this. The colors don't matter here, since this is no longer visible at the end.
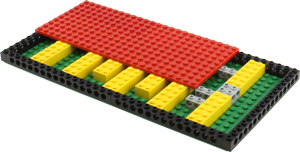
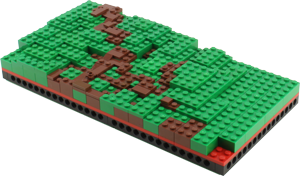
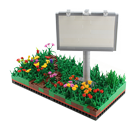
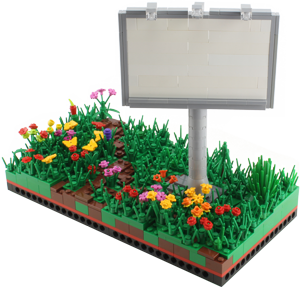
This is followed by green bricks and plates as a grass surface and brown bricks and plates symbolize the one that has developed over the years and already deeper trampled path.
A concrete foundation has to be there to provide the billboard with a stable base. Gray tiles and the 87580 Plates, Modified and its Jumper are enough.
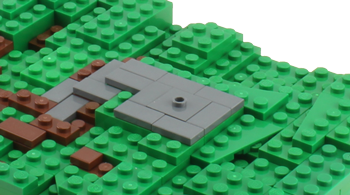
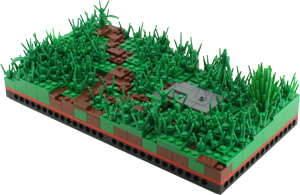
Now that the ground is green, there are still a lot of tall blades of grass missing. After all, this is a wild meadow that no one does voluntarily. ;)
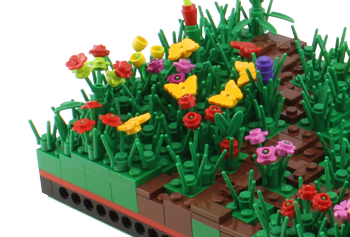
Then we add color and life to the whole picture in the form of flowers, blossoms and butterflies.
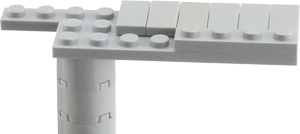
Last but not least, the announced billboard. The pillar consists of 3941 Bricks, Round 2x2 . With Plates we create the platform in the size of 3x14 Studs. The "workers" can later carry out maintenance work on it or stick new posters on it.
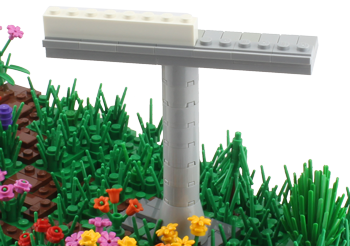
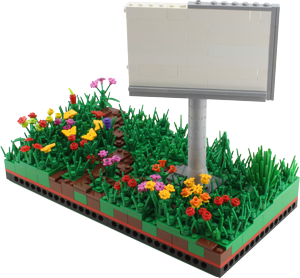
This is followed by white bricks on which the advertising posters can later be mounted or glued. Tiles border the board at the end. 1x1 Bricks, Modified with Stud on Side hold them in place.
Lighting is installed on the top so that the advertising posters can later be seen clearly at night.
Construction Phase 3
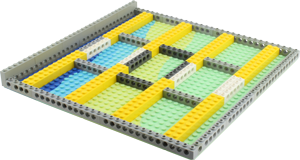
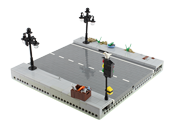
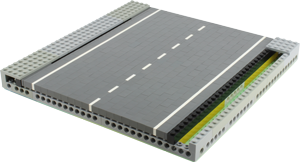
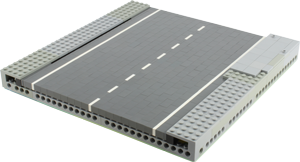
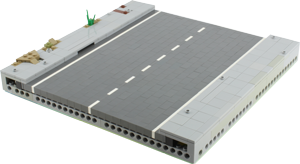
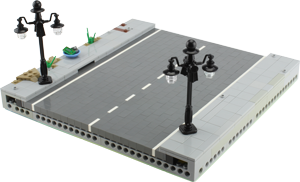
As with the BauConstruction phases before, we first build a stable subsoil. We raise the frame on two opposite sides and add a boundary frame for the road. This will also be the foundation for the sidewalk.
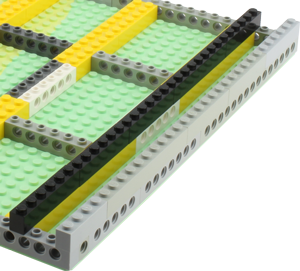
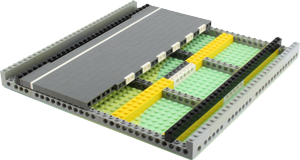
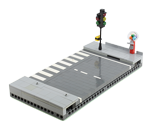
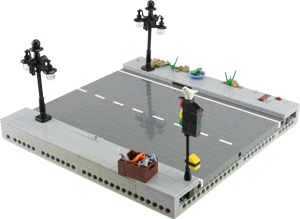
The road itself is now laid horizontally. Bricks, Plates & Tiles are used. White Plates form the lane boundaries, lane boundaries and guidelines.
On the raised sides, Plates form the base of the pavement, which is laid out with Tiles. ➘
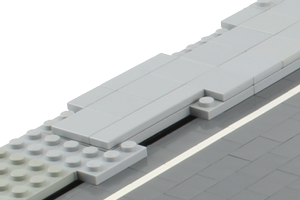
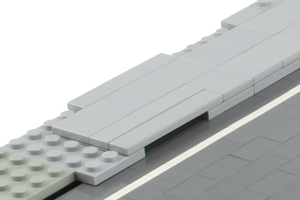
A functioning drain is always important on a roadway, e.g. once rains. So let's build a channel here. To do this, we simply leave space the size of a 1x4 plate and we simply place a 1x6 tile on top of it. A sewer drain is ready.

So that it is also nice and bright at night, we set up two street lamps.
You can find out how to create realistic Lego® street lamps here in the Tutorials under Street Lamp.

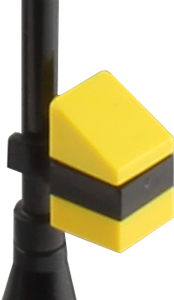
A traffic light should not be missing either so that the zebra crossing attached in BauConstruction Phase 4 can be used even better.
However, so that the traffic flows smoothly and only stops if someone actually intends to change the side of the road, we install a traffic light button.
