Enki G.S.B. Tutorial - Lego® Beach Street Life - Seite 2
Lego® Beach Street Life
↩Beach Street Life
- Tutorial created by enki G.S.B. - Part 2
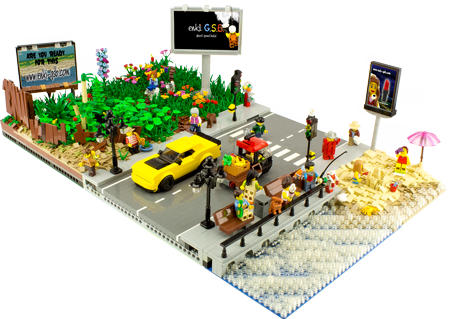
Overview subdivision of the Lego® MOC Beach Street:
Construction Stage 4
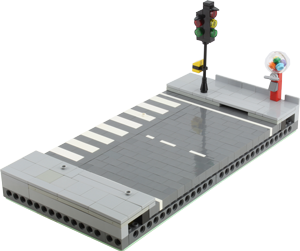
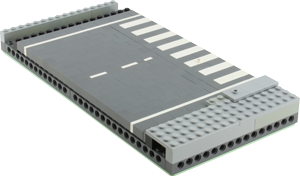
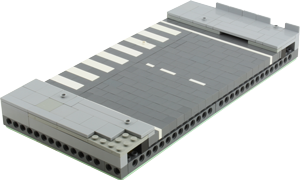
The second part of the lane.
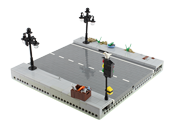
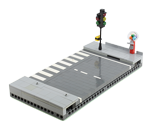
We repeat Construction Stage 3 in a smaller format. In addition, we are building a zebra crossing for better crossing of the street.
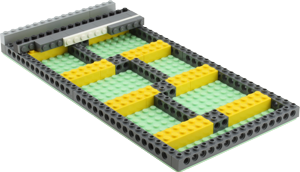
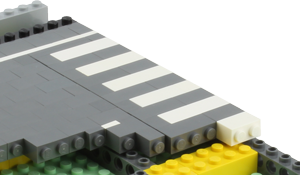
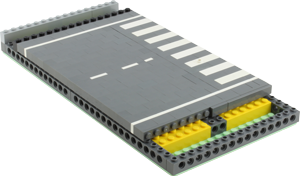
- Lay the road out vertically again. Here we also add a zebra crossing. We can easily do this by simply using white bricks in the desired places instead of grey.
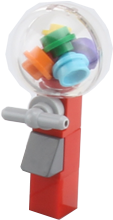
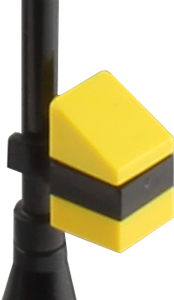
- And as a little treat, there is also a chewing gum machine.
You can find out how to create realistic Lego® Gumball Machines here in the Tutorials under Gumball Machines .
Construction Stage 5
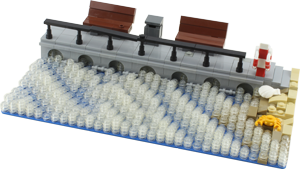
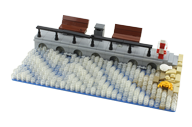
We are nearing the end and have arrived at the Coastal Construction Stage. To the left of both front construction stages (5 & 6) the sea dominates with its waves crashing onto the promenade of the street.
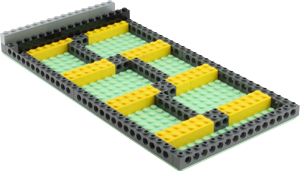
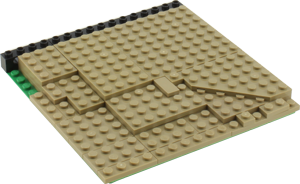
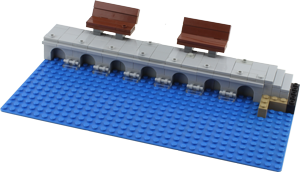
We start with a 16x32 baseplate on which the foundation for the road is created in the rear construction stage


and expand the street or sidewalk with a promenade to relax and linger.
We set benches to linger.
How to create realistic Lego® benches can be found soon in the tutorials.
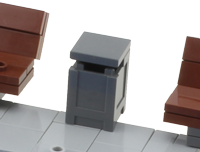
A rubbish bin should definitely not be missing.
How to create realistic Lego® dumpsters can be found here in the tutorial under Garbage Cans.
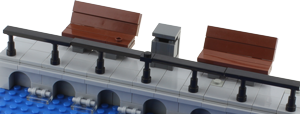
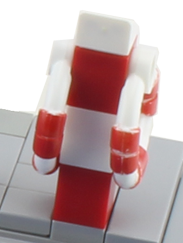
A railing as security so that nobody falls into the water. We're using the 64644 Minifigure, Utensil, Telescopes for support. If someone does fall into the sea, there is a stand with two lifebuoys.
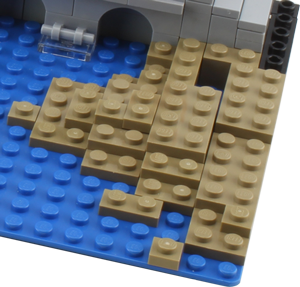
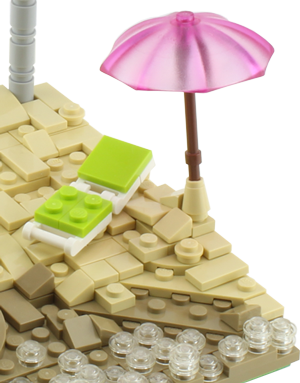
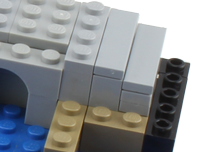
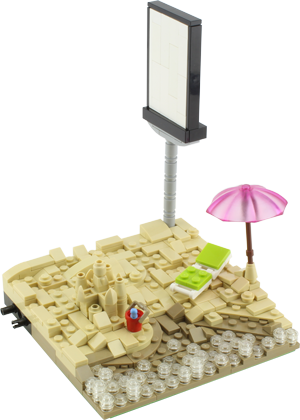
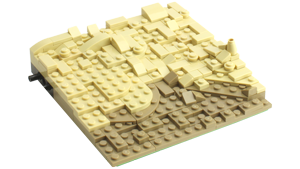
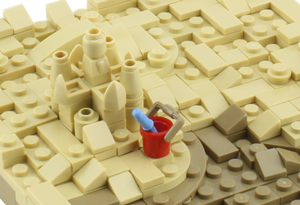
On the side we fill the whole thing with sand for the beach. Darker still wet sand again with dark tan parts and the sand already dried by the sun with lighter tan parts.
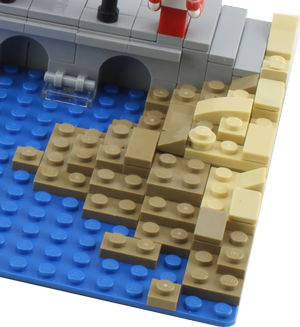
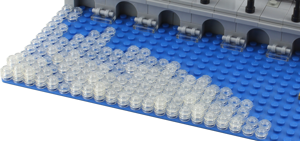
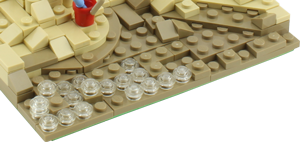
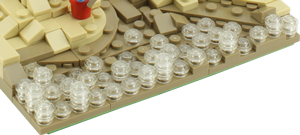
At the end of this construction stage we fill up the sea part with a lot of transparent 1x1 Plates, Round stones. By placing the stones alternately at different heights, we create the illusion of moving waves.
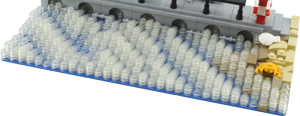
Construction Stage 6
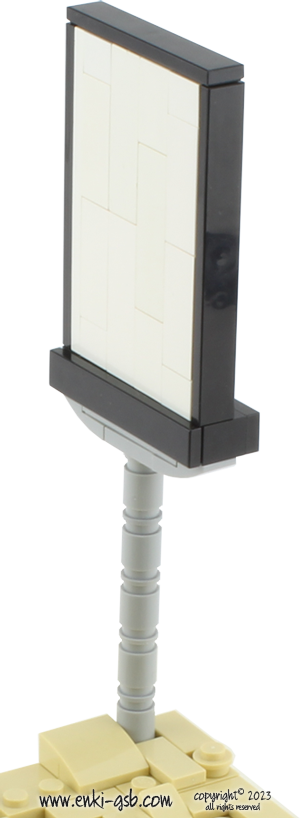
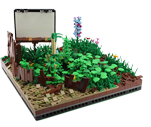
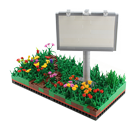
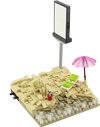
Finally, a digital billboard, after all, advertising wants to be advertised and a deckchair with an umbrella for the beach visitors.
