Enki G.S.B. Tutorial - Lego® Medieval Hermit Rock Stone House - Page 1
Medieval Hermit Rock Stone House
↩Medieval Hermit Rock Stone House
- Tutorial created by enki G.S.B. - part 1
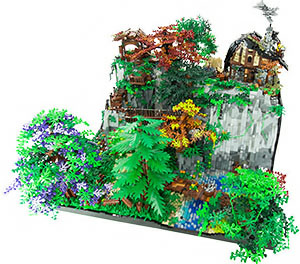
As the name suggests, we build an old, slightly weathered stone house, which stands on a mountain on the edge of a cliff. A mountain stream is to make its way over the cliff as a waterfall in a pond, which empties itself again with a stream through a small gorge in the river. A domicile, far away in the deep forest.
Without going into more detail now, we already know that we need space.
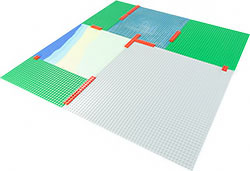 So lay out the base with some base plates. Overall, this base has a knob length of 80x80 nubs. The base plates are connected for the time being quite simply. With the growing plant, we will also strengthen the connections between the plates.
(Hint: For the non-visible areas, we use all those stones that we did not need in the MOC to save stones if possible).
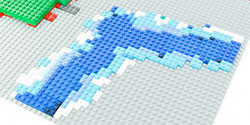 Let's lay down the ground for the later river. In the middle area dark bricks for the deep places, brighter towards the shore and even white bricks at the edge.
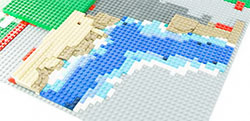
The shore itself we lay sandy. Exact dark tan plates for the wet spots and bright "drier" tan plates on the upper layers.
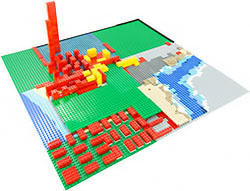
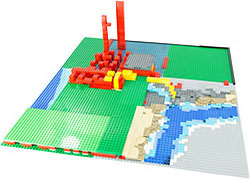
In the middle of the installation we start with the substructure of the waterfall. Likewise, we bring the front left area on a plane with the end of the shore.
Here comes a small forest later, so we lay out the underground ever with green plates.
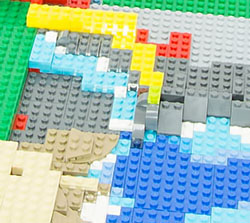 Right of the waterfall runs our mountain stream. Later we put in front of the stream still a small cliff or a larger rock. This was cut through the millennia by the mountain stream and has created a small gorge.
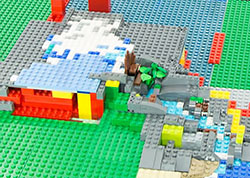
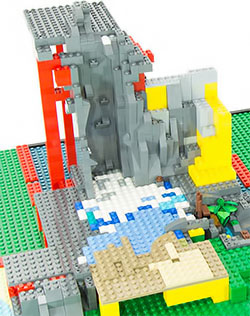
The waterfall itself has also cut deep into the rock behind. Since the stones around the waterfall and the pond as well as the brook are damp, we use darker gray bricks in these areas (the yellow stones are no longer visible and serve here as substructure, as well as the red stones).
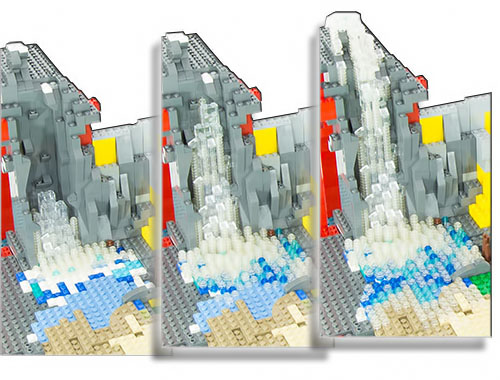
Next step, waterfall. In the back area mainly 2x2 transparent bricks were used. Likewise, where the water falls down the cliff. In the places where the water gushes and splashes small colorless 1x1 Round & 1x1 Slopes. In the pond we put 1x1 round plates. Also transparent plates in the areas where it bubbles and pointed and blue plates for deep, eerie spots in the pond.
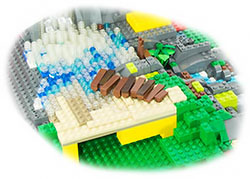
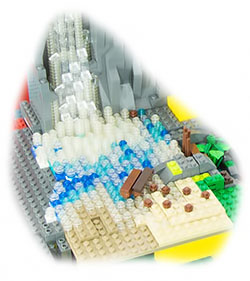
Since it fits just here, we quickly build a small jetty in the pond. Simple with 1x1 round, brown plates as pillars and 1x4 tiles as wooden boards, we reinforce each with 1x4 plates. Try to set up the columns differently, not much, just minimal and slightly offset. This makes the wooden boards even more realistic. Also uses different shades of brown.
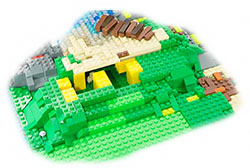
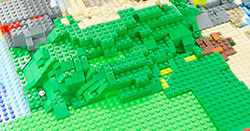
In the course of time, a lot of substrate and debris has been deposited in front of the pond and vegetation is now spreading. That's why we build a green sloping hill in front of the pond.
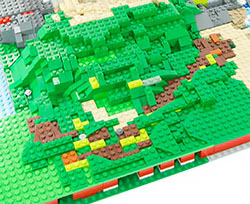
At the foot of the hill we lay a path. As there later a small forest arises, the places of the road are brown and are deeper. Above, then on the edge again green bricks. As if, through which many walk, a small trail has formed and the earth comes through.
It is time to send water to the rest of the river. Again, dark plates in the middle of the river, against the edge brighter. Put dark plates on a lighter blue background and vice versa, so that a nice mixture at the respective color borders results. On and at the shore transparent plates.
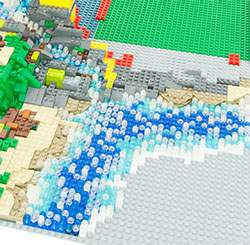 At the end still set with individual transparent plates increased accents. Waves, river motion, splashes and bubbles. Also it is very nice to simulate the movement of the water.
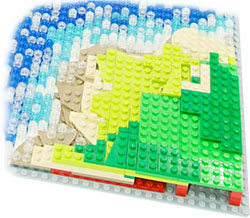
Opposite our shore, we put on another bank. Substructure as usual, above plates. Here we change the vegetation a bit and additionally use another shade of green.


 view video


