Enki G.S.B. Tutorials - MOC Medieval Hermit Rock Stone House - Page 4
Medieval Hermit Rock Stone House
↩Medieval Hermit Rock Stone House
- Tutorial created by enki G.S.B. - part 4
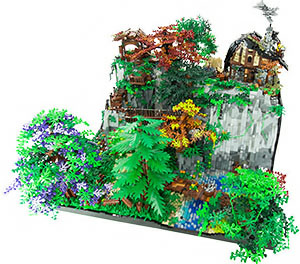
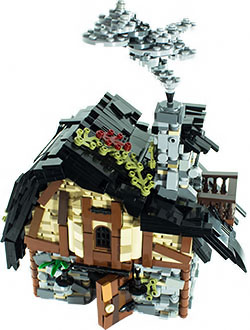
Last but not least, we construct a beautiful medieval house. Where, some place, such a hut will certainly still stand today. ;)
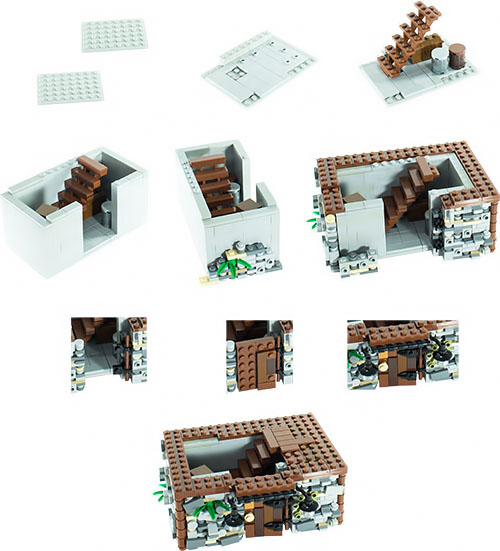
It consists on the ground floor of an inner fixed core around which a stone wall is pulled. On the one hand, the inner core serves as stability on the other hand, the stone wall would be very leaky and translucent (similar to the cliffs). Let the wall look pretty old, stony and weathered.
You can use 1x1 and 1x2 plates for this. Dark and bright gray plates as stones. Brown and beige as mortar, dirt, sand or earth. Also build some 1x1 Bricks with Headlights. For example, you can put 1x1, 1x2 tiles on it. In the wall itself you can build wonderful plants and leaves.
In the interior, we install a ladder and a few barrels and boxes.
A wooden door is held by bars and 1x1 plates with clips that serve as angles. To the left and right of the door we hang two lanterns so that you can find your way home at night and the ground floor is ready.
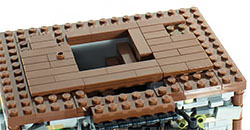
The false ceiling consists of wooden slats which we first lay out with larger brown plates and finish with tiles as wooden boards. We have deliberately designed the sides of the outer wall so that we can lift our false ceiling whenever necessary to get from the top to the ground floor.
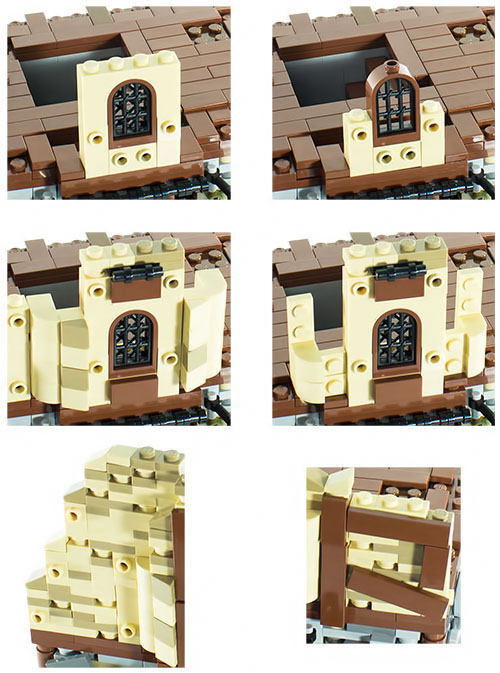
The wall of the first floor is a stucco wall. Wooden beams and clay in between. The effect of a well shaded clay facade we produce with many different small square and round plates. Also here we build 1x1 plates with Headlights, which later hold the brown tiles and represent wooden beams. Does this mount a bit crooked, also you can hide it with unwelcome places.
A window with a small porch and a little structure on the sides with the 1x2x1 1/3 curved bricks.
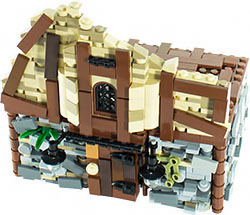
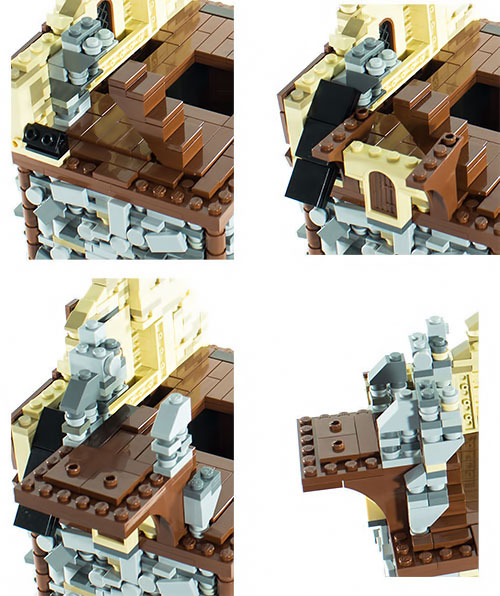
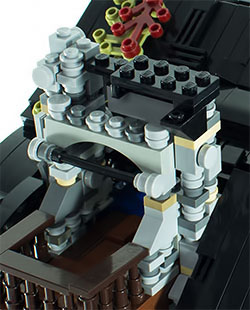
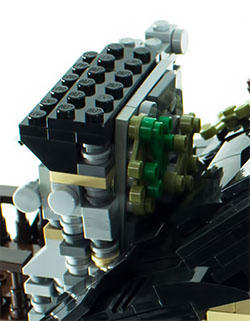
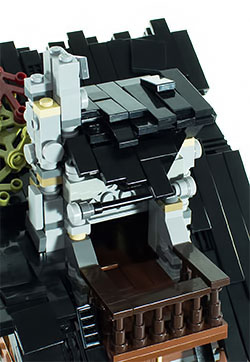
On the right side is still a balcony from the roof tendrils. Under this a trap door for example firewood is mounted. We also start to build the chimney and steps for access.
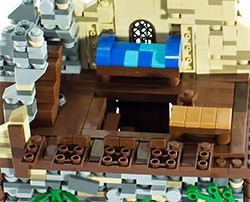
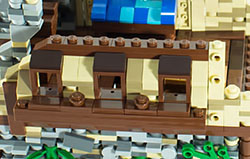
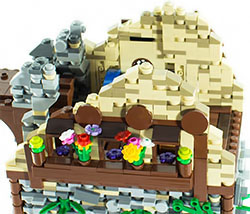
Another bed and a desk and we pull the back on the same principle as the front. Here, however, we install three windows with window sills and decorate them with flowers.
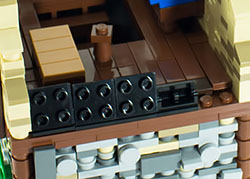
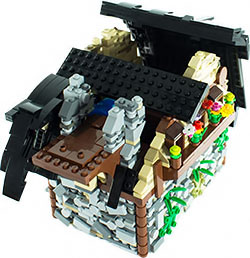
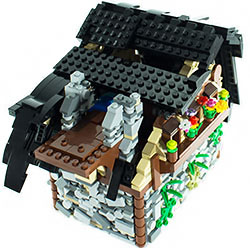
We can save the left wall completely. Here we start with our pitched roof. For this we use 1x2 Hinge Bricks with 2x2 Hinge Top Plates to open and close the roof afterwards.
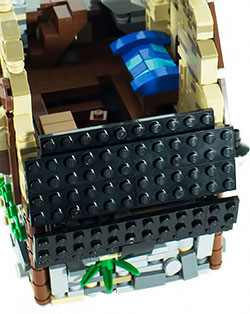
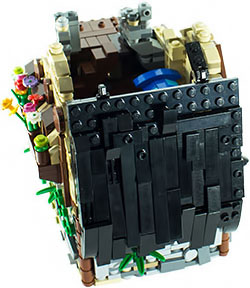 Primarily, the roof consists of a few longer base plates that are held together with Hinge Parts. The 1x2 hinged panels are now bent to an angle that gives the roof its desired curve or shape.
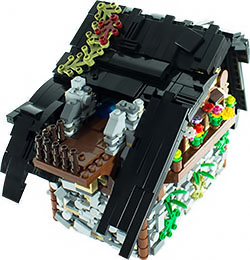
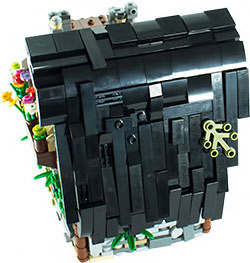 Only then we begin to build the roof with many different parts and try to get a desired flowing movement in the roof. We try to create round shapes out of square, stiff angles. Depending on your wishes, you can leave the roof smooth and clean or broken and weathered. A few leaves complete the whole picture.
The second half of the roof we constructed in the same way. At the same time we finish the chimney and the balcony ready. Of course, this also needs a terrain. A stony back wall at the staircase and a small canopy and the balcony is enterable. Now complete the rest of the roof.

Pull the flue upwards and we breathe life into the whole thing and let the flue catch haunt dark clouds of smoke.
Now we can put the house on our prepared place and its pimples and that's it. We finished our
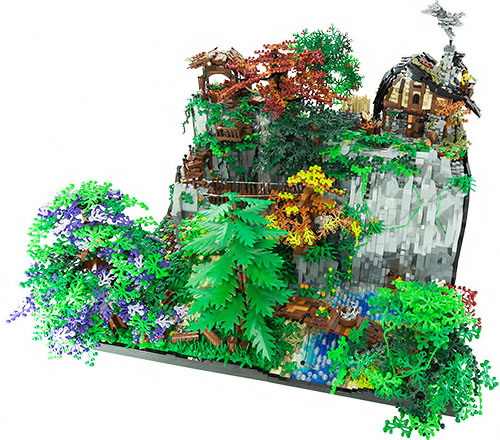
Medieval Hermit
Rock Stone House
Thank's for watching, see you next time
back to Tutorial-Overview


