Medieval Hermit Rock Stone House
↩Medieval Hermit Rock Stone House
- Tutorial created by Enki Ghost Speed Build - part 3
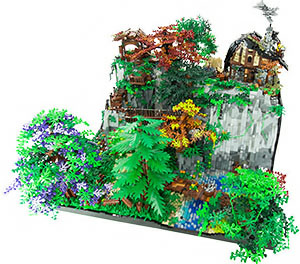
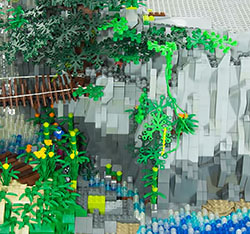
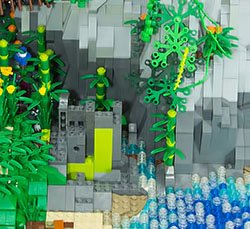
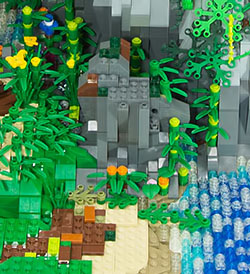
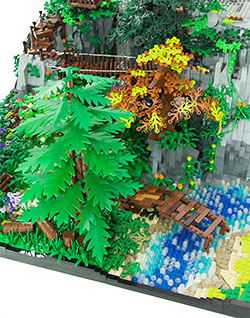
Let's stay in this area and start with the previously mentioned gorge in which the mountain stream meanders to the river. We build a small rock in front of the creek. The creek itself we decorate with plenty of plants, preferably even before the rock makes the area difficult to access. On the rocks themselves, we put a small tree that completes the whole. With small green and brown plates still the bald spots are covered.
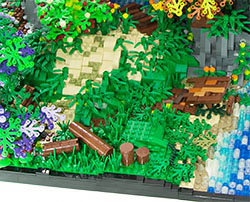
The front forest area we will continue to grow with grasses, plants and leaves. Two tree stumps and their trunks are placed near the river in the forest.
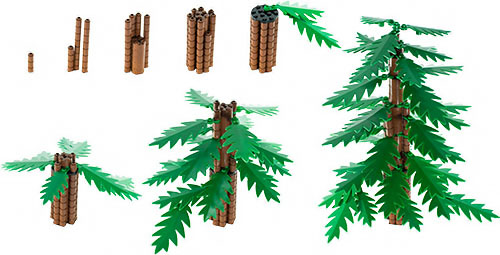
On the small green area we put a big pine tree. Nice to the front center and then lead the way to the other shore.
For this we build a simple wooden bridge. 4 pillars, a few wooden slats and two ramps should be enough. For the special flair we also let this bridge look totally weathered. Even a few slats are already missing or are no longer very stable. A ramp is already prepared. But now the pine tree.
The pine tree has been placed and the bridge has already grown.
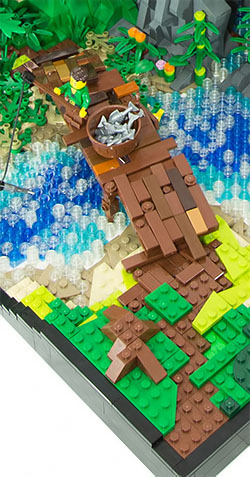
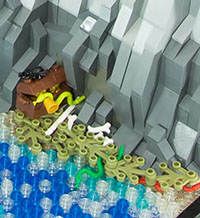
You can add small details anytime, anywhere, like here at the foot of the cliff, where a well-kept treasure hides. :)
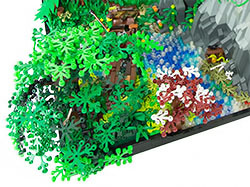
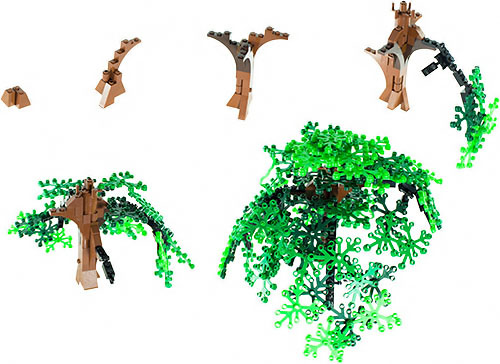
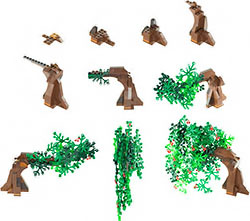
So that the shore is nicely overgrown and does not remain so empty, we put here two trees or better said a weeping willow and a flowering tree.
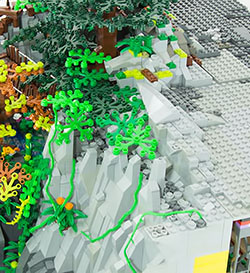
The lower area is thus already quite full. We continue up the cliff path. We let this grow more, with leaves and vines. Also come again small gray plates as shingle and gravel for use. In the places that are worn by wear, we use round square 1x1 tiles.
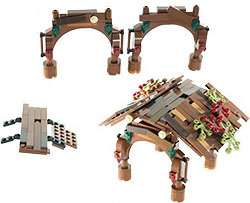
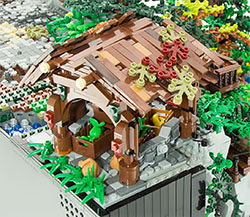
We reserve the upper right vacancy for our stone house. For the future entrance we now hit some stairs in the stone. We increase the right area a bit and build a substructure.
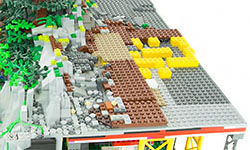
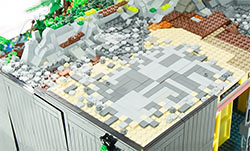 The ground of our house is sandy or dried and flat rolled soil mixed with gravel, shingle and stones. So brown, gray and tan colors are a good choice.
At the place where the house is later, we lay tiles as a substrate. If you look closely, you see under the tile bricks also two 1x2 plates, each with a pimple. At these two pimples we can then align and fix the stone house a bit diagonally.
In the entrance area of the house we also put round and square tiles, where stones and gravel are already flattened and rounded.
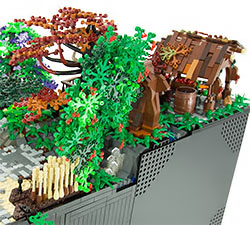
Let's take a look at the whole upper part. What else do we have in mind?
Our waterfall needs a source in any case. We will create a small stream. Since this is higher than the left area at the house, we will add a small branch of water from this stream to a small pond. Across the stream we pass a bridge that leads to the viewpoint over the waterfall and also to a storage shed.
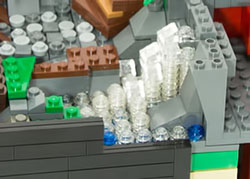
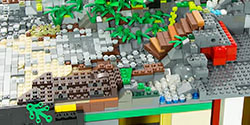
With a wooden staircase we overcome the increase to the creek. In front of it you already see the filled pool, which is supplied by a gap in the rock with the water of the stream. Here it just gushes out.
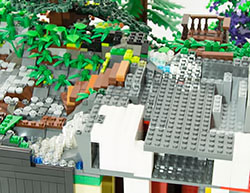

The creek also gets a gray, stony substructure on the first again light and dark blue plates are stuck. At the edges white plates. And as before the pond with the gorge and the river, the mountain stream is filled with blue and white transparent 1x1 round plates.
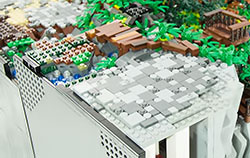
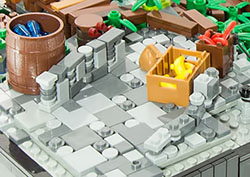
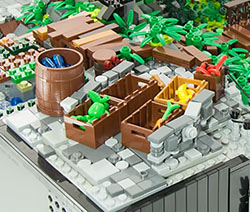
Over the river comes a wooden bridge from our already evaluated wooden boards. The underground of our pantry is again worn and polished stone and gravel which we construct with round and square small tiles. Two small stone walls that are being covered form the shed. Here we store our supplies.
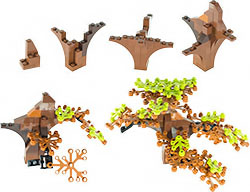
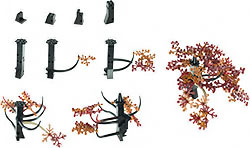
Before we start building the house, we will set up two more trees. One, with a black trunk. For its branches we take dinosaur parts here. Specifically, the Tail Neck Middle Section and the Tail End Section. Therefore, we build in our trunk 1x2 Technic Bricks with Hole to attach the "branches". The leaves we can then easily and very stably stuck to the branches.
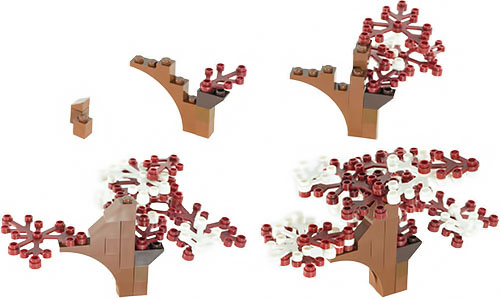
As the last tree we put over the pond, next to the mountain stream, a cherry tree with many ripe cherries. :)
So that you can put the cherries in the leaves, we assemble the leaves in this tree vertical. On both sides of the branch a nice dense number of leaves are draped well and then put together and wrapped around the branch. On the branch itself are still vertically nubs mounted by brackets, for better stability.
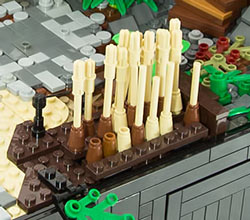
Another small wheat bed, a drinking water fountain, a little decoration and good!


